Ultimate Guide to HomeKit Security Alarms


Ultimate Guide to HomeKit Security Alarms
Tired of clunky alarm keypads and expensive monthly contracts? A HomeKit-based security system offers a simple promise: secure your home using your iPhone. This modern approach uses Apple’s built-in “Home” app to unify all your devices, so there’s no new interface to learn. You gain more control, often while saving money.
Imagine getting an instant alert on your Apple Watch if a window is opened, or telling Siri “Goodnight” to arm your entire system from bed. This is the convenience that comes when you secure your home with Apple devices. It’s about making your peace of mind feel as seamless and reliable as the rest of your digital life.

This guide breaks down exactly what you need to get started and helps you choose the right components for your home, no technical degree required.
What is HomeKit Security and What Do I Actually Need to Start?
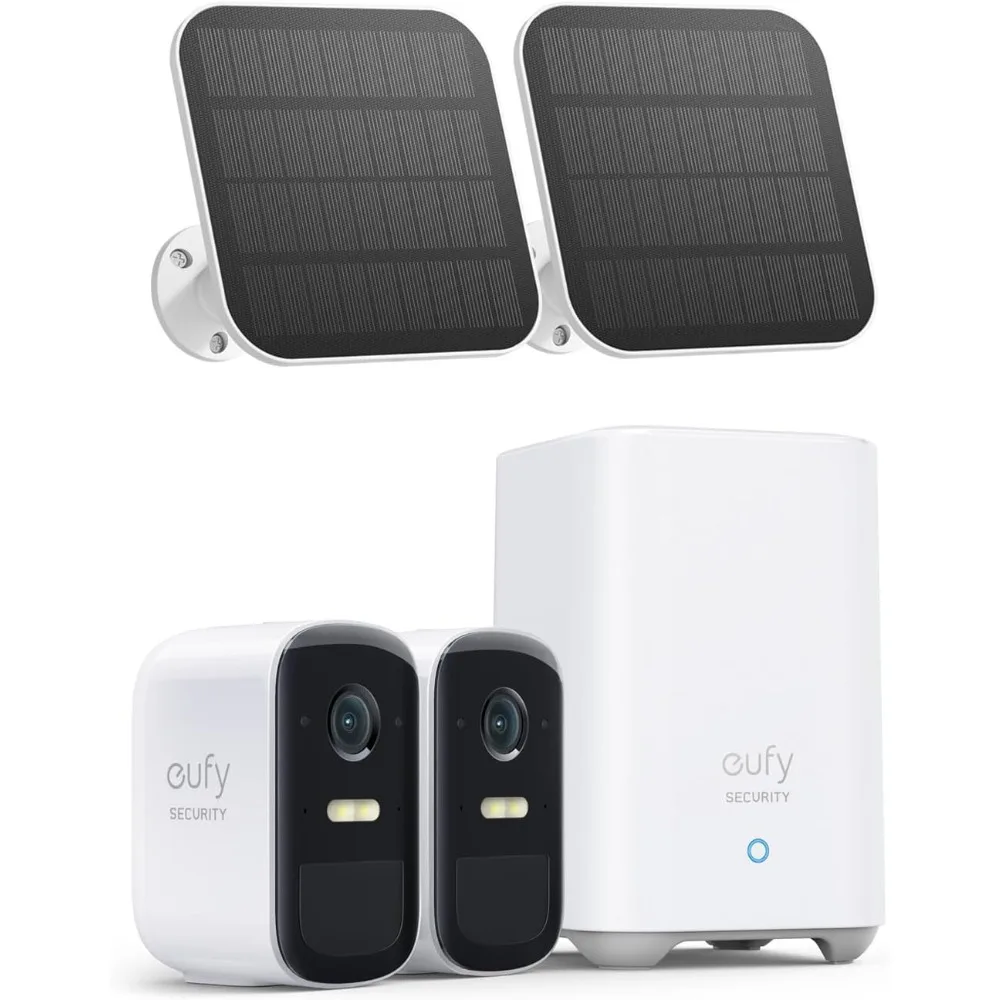
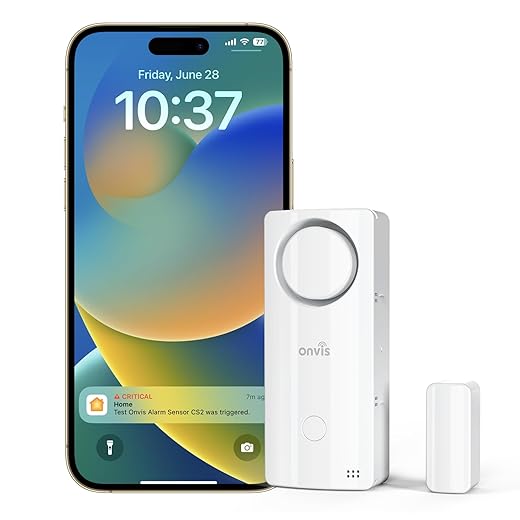
Wireless Home Security System Devices in Door Window Alarm
To pick the right alarm, it helps to understand how it all connects. If you’ve ever wondered, “What alarm systems work with Apple Home?”, the answer starts with HomeKit. Think of HomeKit not as a product, but as a secure language that lets devices from different brands talk to the “Home” app on your iPhone. This is what allows you to control your lights, locks, and security system all from one trusted place.
So, how does your system work when you’re not on your home’s Wi-Fi? That’s where a Home Hub comes in. This isn’t another device you have to buy; it’s a job your Apple TV or HomePod is built to do. It acts as the central brain for your smart home, securely relaying your commands from anywhere and sending you instant notifications if a sensor is triggered.
Getting started with a HomeKit security system is simpler than you might think. You only need three things:
- An iPhone or iPad to control everything.
- A Home Hub (any modern Apple TV or HomePod).
- At least one HomeKit-compatible security device.
With these pieces in place, you can begin adding the specific sensors that fit your needs, most commonly contact and motion sensors.

The Building Blocks: What Are Contact and Motion Sensors?
Think of these sensors as your alarm’s digital eyes and ears. The most common is the contact sensor: a simple, two-part device for doors and windows. One piece goes on the door, the other on the frame. When they separate, your Home Hub instantly notifies your iPhone. It’s the most direct way to know the moment an entry point is opened.
For broader coverage, a motion sensor monitors a whole area, like a main hallway or living room. It adds a powerful second layer of security by detecting movement inside a room. This makes it perfect for covering large spaces or interior rooms with just one device.
Together, these two sensors create a strong security net. A great start for most homes is placing contact sensors on the main doors and a motion sensor in a central hallway. When one is triggered, an alert hits your lock screen. But that raises a crucial question: who acts on that alert?
Who Calls for Help? Self-Monitoring vs. Professional Monitoring Explained
That instant alert on your iPhone is the core of a self-monitored system. You are the command center. When a sensor is triggered, you get the notification and decide what to do—whether that’s checking security cameras, calling a neighbor, or dialing 911. The vast majority of HomeKit alarms are self-monitored, which is why they often come with no monthly fees.
On the other hand, professional monitoring is the traditional model. When your alarm goes off, a dedicated call center attempts to contact you and, if they can’t, will dispatch emergency services on your behalf. This service provides an extra layer of peace of mind for a monthly fee.
Deciding between them comes down to a trade-off between cost and responsibility.
Self-Monitoring
- Pro: No monthly fees and you have total control.
- Con: You are fully responsible for contacting emergency services.
Professional Monitoring
- Pro: Automatic emergency dispatch gives you peace of mind.
- Con: Comes with a monthly fee (typically $10-$25).
The great news is you don’t always have to choose forever. Some systems offer optional professional plans, giving you the flexibility to upgrade later. This is a key factor when comparing systems like Abode vs Aqara for HomeKit, as they cater to different monitoring preferences.
Best for Beginners & Budgets: The Aqara Security System
If a simple alarm system with no monthly fees sounds perfect, Aqara for HomeKit is likely your best starting point. Known for its incredible value, Aqara offers a complete DIY smart home security with HomeKit solution at a fraction of the cost of traditional systems. It’s designed for you to install in minutes.
The system is built around a central Aqara Hub, which plugs into an outlet and connects your sensors to Apple HomeKit. From there, you add tiny, discreet sensors to doors, windows, or rooms. You can start with a basic kit and easily buy extra sensors one by one as your needs grow, making it a flexible and budget-friendly choice.
As a no monthly fee smart home alarm, you are in complete control. When a sensor is tripped, your HomePod can sound a siren and you’ll get an instant alert. For many, this provides the ideal balance of security and savings.
Best for Flexibility: The Abode Security System
For those who want self-monitoring with a professional safety net on standby, the Abode Security System is the clear winner. Abode’s standout feature is its optional, on-demand professional monitoring. You can self-monitor for free, then pay for a month of 24/7 monitoring right from the app when you go on vacation. It’s the perfect monitored alarm system for Apple users who value control.

Beyond monitoring, Abode offers a wider range of hardware. In addition to standard sensors that work flawlessly with Apple Home, you can add a physical keypad for guests or standalone sirens. This makes the system feel robust, a key differentiator when comparing Abode vs Aqara for HomeKit.
Abode delivers a powerful, professional-grade solution that works seamlessly with Apple Home, all without locking you into a contract. You get the daily convenience of arming from your iPhone combined with the serious security of professional services exactly when you need them.
Your Top Questions Answered: Ring, HomePods, and Future-Proofing
As you explore options, a few common questions arise. One of the most frequent is, is Ring compatible with HomeKit? The straightforward answer is no. Ring, owned by Amazon, operates in its own ecosystem and does not offer native integration with Apple’s Home app.

On the other hand, the HomePod or HomePod mini plays a surprisingly powerful role. Not only can it act as a loud HomePod security alarm siren, but its built-in Sound Recognition can listen for smoke and carbon monoxide alarms, sending you an alert if it hears one.
You may also see newer products labeled as Thread and Matter enabled security devices. Thread is a wireless technology that creates a super-reliable, self-healing network between devices for faster response times. Matter is a universal standard promising that more smart devices will work together effortlessly, regardless of brand. Choosing accessories with these technologies helps future-proof your setup.
Beyond the Siren: How to Create Smart HomeKit Security Automations
A truly smart alarm works around your life. In the Home app, you can create HomeKit security automations and scenes. A “Scene” is a one-tap command for multiple devices. For instance, a “Goodnight” scene could arm your alarm, lock the front door, and turn off all the lights. Automations take it a step further, running on their own.
These automations follow a simple “If This, Then That” logic, allowing you to secure your home with Apple devices in a way that feels effortless. Popular examples include:
- When the last person leaves home, Arm the security system.
- When motion is detected in the hallway after 10 PM, turn on the lights to 20% brightness.
- When the front door opens, announce “Welcome Home” on the HomePod.
Security sensors can do double duty, adding both convenience and safety throughout your home. Setting these up is simple, using the straightforward “Automation” tab in your Home app.

Your 3-Step Action Plan to a Safer, Smarter Home
Building a smart security system with HomeKit replaces confusing contracts and clunky keypads with an elegant system you control from your iPhone. You are ready to design your own peace of mind, built on the Apple foundation you already know and trust.
Before choosing a HomeKit alarm system, walk through this quick plan:
- Confirm Your Hub: Do you have a HomePod or Apple TV?
- Count Your Entry Points: How many door/window sensors do you need?
- Choose Your Monitoring Style: Do you want free Self-Monitoring or the option for Professional Monitoring?
With these answers, you’ve moved from wondering to planning. Securing your home with Apple devices isn’t about adding more tech—it’s about extending the simplicity, privacy, and control you expect from Apple to the thing that matters most. You’re now equipped to make your home not just smarter, but safer, on your own terms.

The Best Smart Home Security Systems We've Tested for 2026 PCMag...
These Simple Gadgets Alert You to Water Leaks Before They Become a Flood The New York Times...
Ecobee Exposes Smart Security System to Apple Home Homekit News and Reviews...
Best Apple HomeKit security systems for 2026 – reviews & comparison Cybernews...


You May Also Like

Top 8 Smart Security Devices for Homeowners in 2026

Affordable 5-Pack Smart Air Tags: Essential for Apple Users
